


How to Send Dental Cases Overseas: Digital Workflow Guide
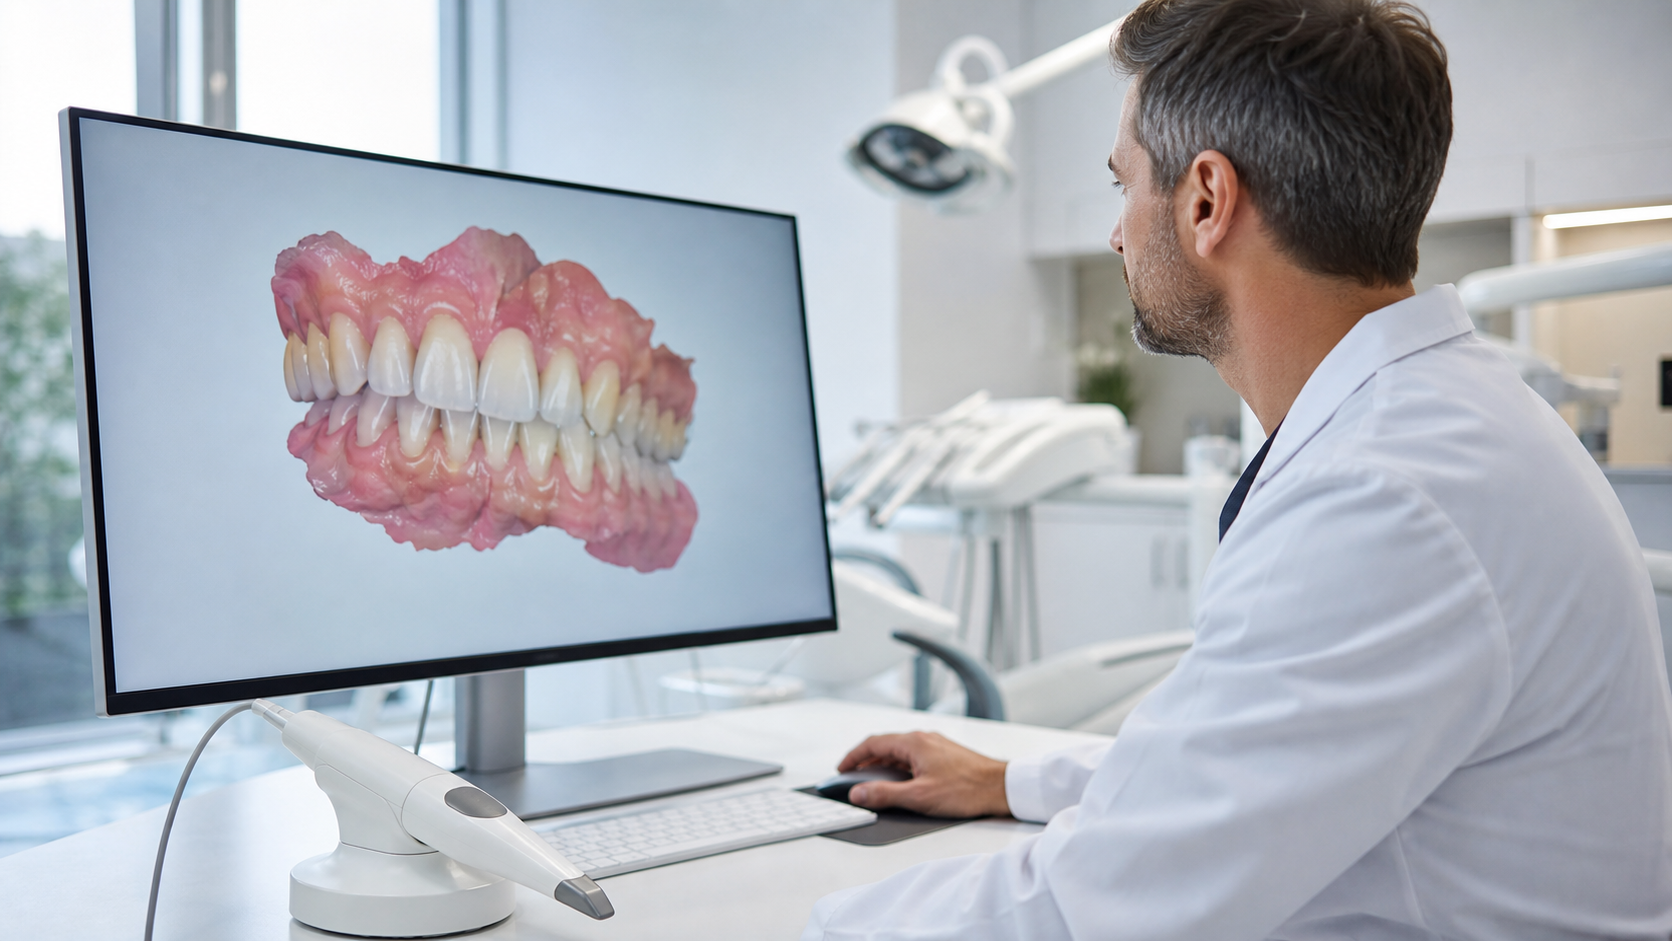
Sending a scan overseas should not feel like sending a case into a black box. The practical question is not whether a file can cross a border; it is whether the receiving laboratory gets enough information to manufacture the restoration you prescribed without making assumptions.
We are Topway Dental Lab, an outsourcing dental lab and contract manufacturer founded in Shenzhen in 2006, now based in Bao'an District, Shenzhen. This guide explains how we recommend preparing a first digital submission, what our team needs to review, and where dentists and laboratory owners should pause for confirmation before production. It is deliberately focused on the digital handoff. For a broader view of supplier selection, case planning, communication, and risk, read the complete guide to dental lab outsourcing.
Why Digital Impressions Make Overseas Outsourcing Practical
A conventional impression begins its overseas journey as a physical object. Before the receiving laboratory can examine the preparation, the package must be prepared, collected, transported, cleared, and delivered. A digital case separates the clinical record from that initial physical journey: the receiving team can begin its intake review as soon as the files and prescription arrive.
That distinction matters most at the start of a relationship. You do not have to wait for a shipped impression before learning that a margin is unclear, an opposing arch is absent, or the prescription leaves an important choice unresolved. The review happens before manufacturing, and if the scan needs correction, the conversation returns to the clinic while the patient and the clinical details are still fresh.
Digital does not remove the need for disciplined communication — it moves that discipline earlier. The scan records geometry, but it does not replace the prescription, shade references, implant information where relevant, or written approval of a design decision. We treat those items as one case package rather than as unrelated messages.
Topway has over 300 employees in a 5,000-square-meter facility. Scale is useful only when each incoming case is identifiable and its instructions remain attached to it. For that reason, the most valuable habit a new client can adopt is consistent case naming across the scan files, photographs, prescription, and correspondence.
What File Formats and Scanners Are Compatible
Do not choose a submission route from the scanner logo alone. Start with the export options available in your scanner account and confirm the intended route with us before sending a live case. Scanner software, account permissions, and export settings all affect what a clinic can actually provide — owning a scanner does not automatically mean every export option is enabled.
You may see STL, PLY, DCM, or DICOM among the available formats in your scanning or case-management workflow. For a first case, tell us exactly what your system can export rather than renaming a file extension or converting files without discussion. If an open STL export is available, it is a straightforward starting point for the geometry files, but we still need the complete case package and a successful intake check before the case proceeds.
| Item to check | What to send or confirm | Why it matters at intake |
|---|---|---|
| Available export | Tell us whether your system offers STL, PLY, DCM/DICOM, or another output | We can agree on the submission route before you create a live order |
| Prepared arch | Include the complete exported file, clearly named | The review team must be able to identify the prescribed site and surrounding scan |
| Opposing arch | Include it as a separate, clearly named file when the case requires it | It keeps the opposing record connected with the correct case |
| Bite record | Include the scanner-generated bite information and label it | The submission should not leave the receiving team to guess which record belongs to which arches |
| Shade references | Send the prescription entry and the requested clinical photographs | Geometry files do not communicate every visual instruction |
Open export versus a closed workflow
An open-export route gives the clinic a file it can identify and submit. A closed route may require access through the scanner provider's own case environment. Before buying a scanner specifically for outsourcing, ask the seller to demonstrate the export process using the account type you intend to purchase. The useful question is not simply "Does it scan?" It is "Can our team export the records our chosen laboratory needs, and can we retrieve them again if a case must be reviewed?"
Before your first submission, contact us with the scanner name, the export choices visible in your account, and the restoration category. We will confirm the next step rather than asking you to improvise a conversion.
Shade photographs and written instructions
Keep shade communication systematic: use the case identifier in the image filenames, record the prescribed shade on the Rx, and make sure the relevant teeth and shade reference are visible in the photographs. If the appearance of a neighboring restoration affects the request, state that in writing. A photograph without a case identifier can be separated from the order; a shade written only in an email can be missed when the clinical package is reviewed elsewhere.
Step-by-Step: Sending Your First Digital Case to Topway
Step 1: Capture the scan and shade references
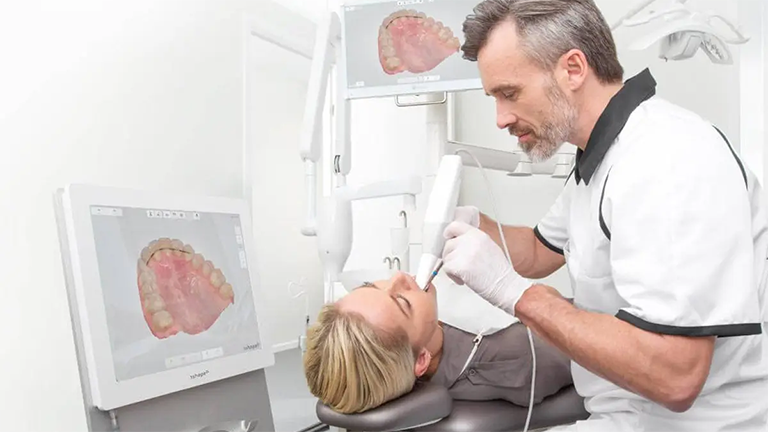
Complete the prepared arch, opposing record, and bite record required for your prescription. Before dismissing the patient, inspect the areas that will matter to the restoration: the preparation boundary, adjacent surfaces, contacts, soft-tissue interference, and the bite capture. The aim is not merely to finish the scanner's onscreen sequence — it is to give the receiving technician a record that can be reviewed without inventing missing clinical information.
Capture the shade references requested for the case and record the prescribed shade in writing. Name the image files with the same case identifier used for the scan.
Step 2: Export without altering the source files
Use an open export such as STL when that option exists and has been confirmed for the case. Keep the original export intact: do not change an extension to make one file look like another format, and do not mix revised and superseded scans in the same submission folder. If you have rescanned an arch, label the current version clearly and tell us which earlier file it replaces.
Step 3: Complete the prescription
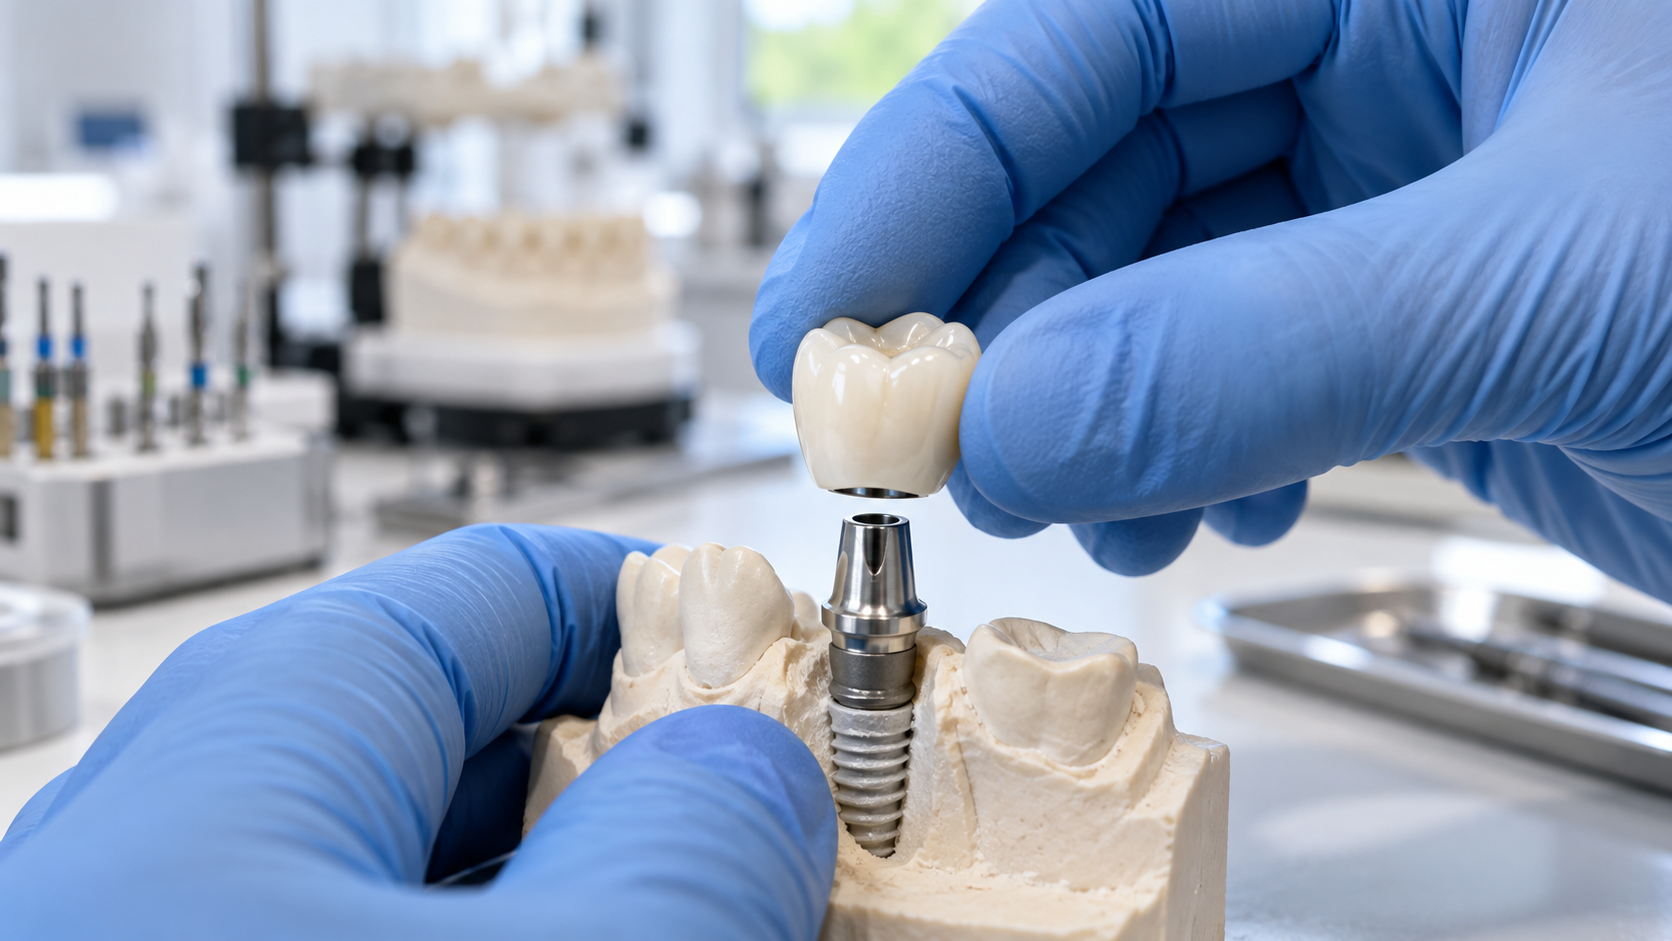
The Rx should identify the patient or case according to your own privacy procedure, the prescribed site, restoration type, material request, shade, and any design priorities. Add implant details when the prescription involves dental implant restorations. If you are prescribing crowns and bridges, make the units and connectors unambiguous. For cases that fit our digital workflow, you can also review our digital crown and bridge solutions before submission.
Write down the decisions that would otherwise require interpretation. If there is a preferred contact, contour, emergence profile, occlusal approach, or approval requirement, place it in the prescription or its attached notes. "Same as usual" is not useful on a first case because there is no established usual yet.
Step 4: Agree on the transfer route
Contact our team before sending the first live case so we can confirm the appropriate transfer method for your available export. Keep scans, photographs, the Rx, and related notes together under one case identifier. Do not send patient data through an improvised channel merely because it is convenient; your clinic or laboratory remains responsible for choosing a transfer process that meets its applicable privacy and record-handling obligations.
Step 5: Wait for intake confirmation
A successful upload is not the same as an accepted manufacturing case. Our intake review must establish that the files arrived, can be associated with the correct prescription, and provide enough information for the requested work. If we identify a problem, we will describe what needs attention so the clinic can decide whether to rescan, clarify the Rx, or provide a missing record.
Digital Case Submission Checklist
- Prepared-arch scan is included and clearly named.
- Opposing record is included where required.
- Bite record is included and belongs to the submitted arches.
- Prescription identifies the site, restoration, material request, shade, and design notes.
- Implant information is included for an implant prescription.
- Shade photographs use the same case identifier.
- Current files are separated from superseded versions.
- The transfer route and file type have been confirmed with us.
- The case has received intake confirmation before production is assumed to have started.
How Topway Processes a Digital Case In-House
Once the submission is identifiable and complete enough to review, the case moves through a controlled sequence. The exact manufacturing route depends on the prescribed product, so not every digital submission follows the same equipment path.
Stage 1: Intake and prescription review
We match the clinical files, photographs, and instructions to the case. Questions at this stage are useful: they prevent an unclear instruction from becoming a manufactured assumption. If a margin cannot be evaluated or a required record is missing, we return the question to the sender.
Stage 2: CAD preparation and approval decisions
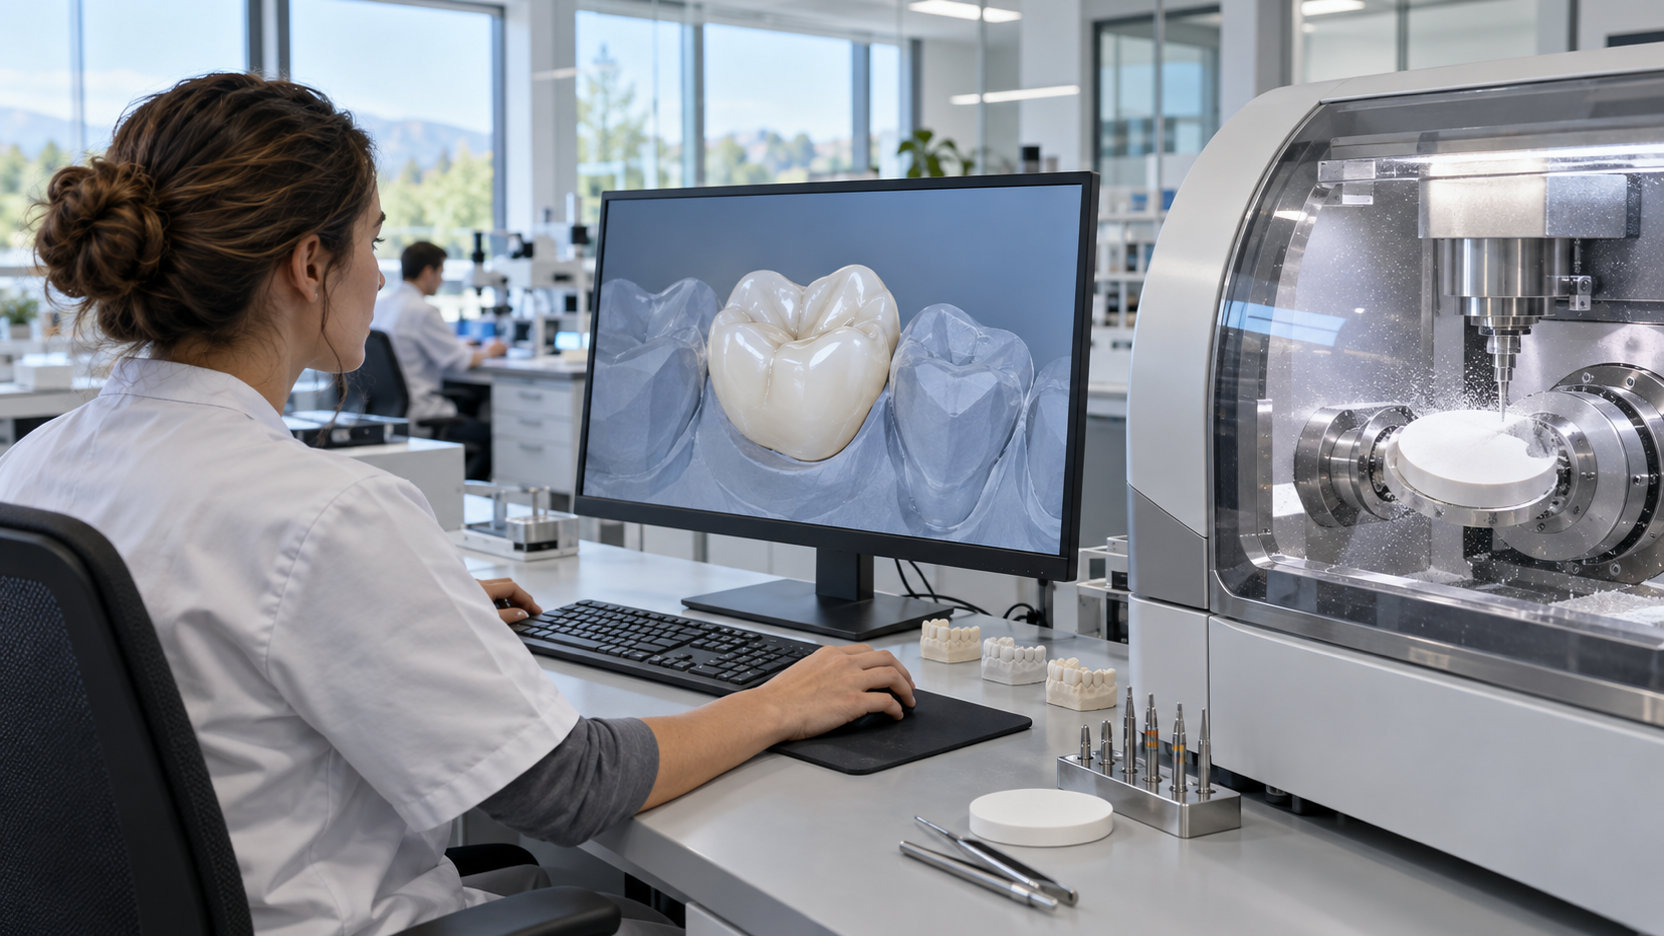
For a case that proceeds digitally, our team prepares the design according to the prescription. When the client has requested an approval step, the relevant design decision must be confirmed before manufacturing proceeds. The prescription should state who can approve and how quickly that person can respond. A laboratory owner submitting on behalf of a clinic should also make clear whether the owner or the treating dentist holds final approval authority.
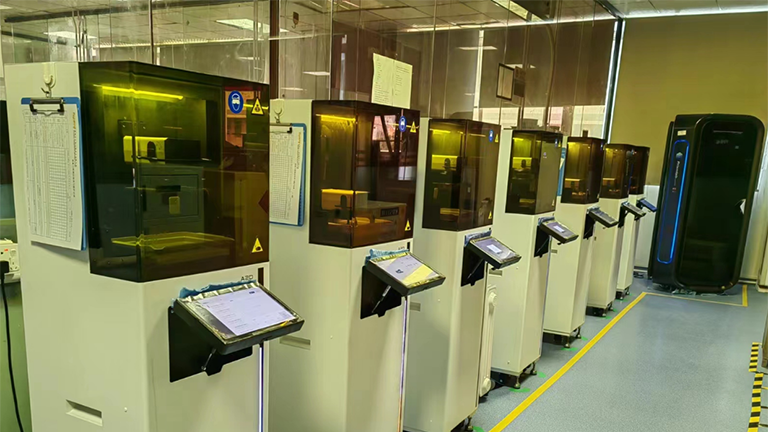
Stage 3: CAM or additive production where appropriate
The manufacturing method is selected according to the restoration category and prescription. A digitally submitted case may move to a milling or printing stage where appropriate; digital intake does not mean every product is manufactured the same way. If the requested product or record requires a different route, we discuss that before treating the case as production-ready.
Stage 4: Finishing and quality control
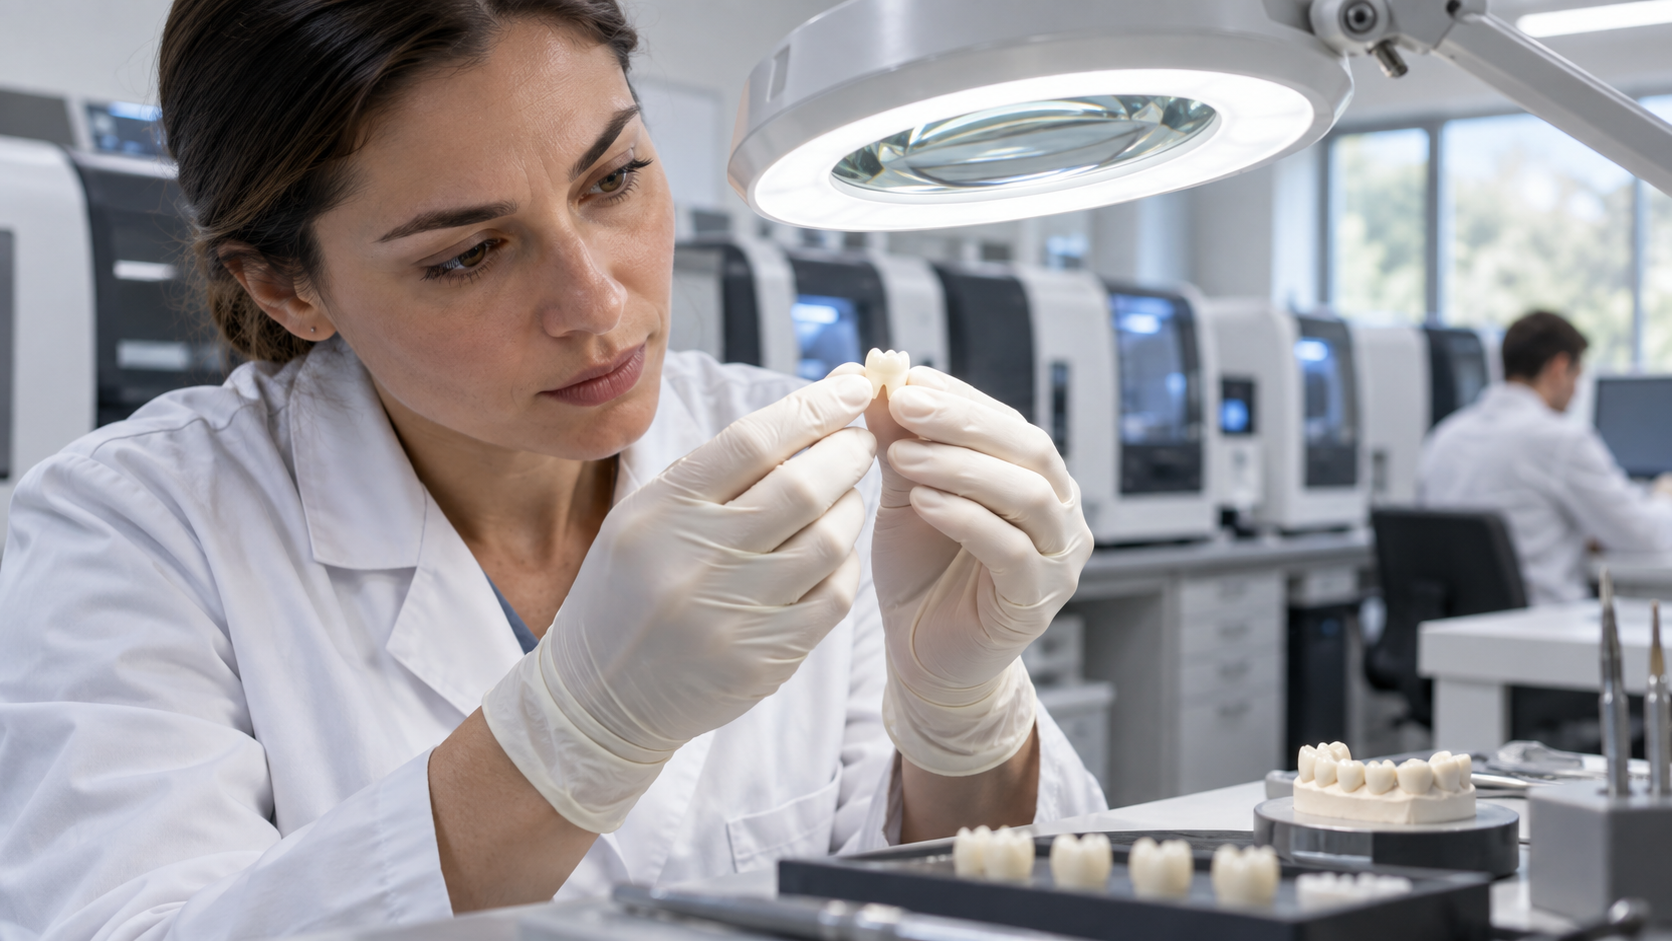
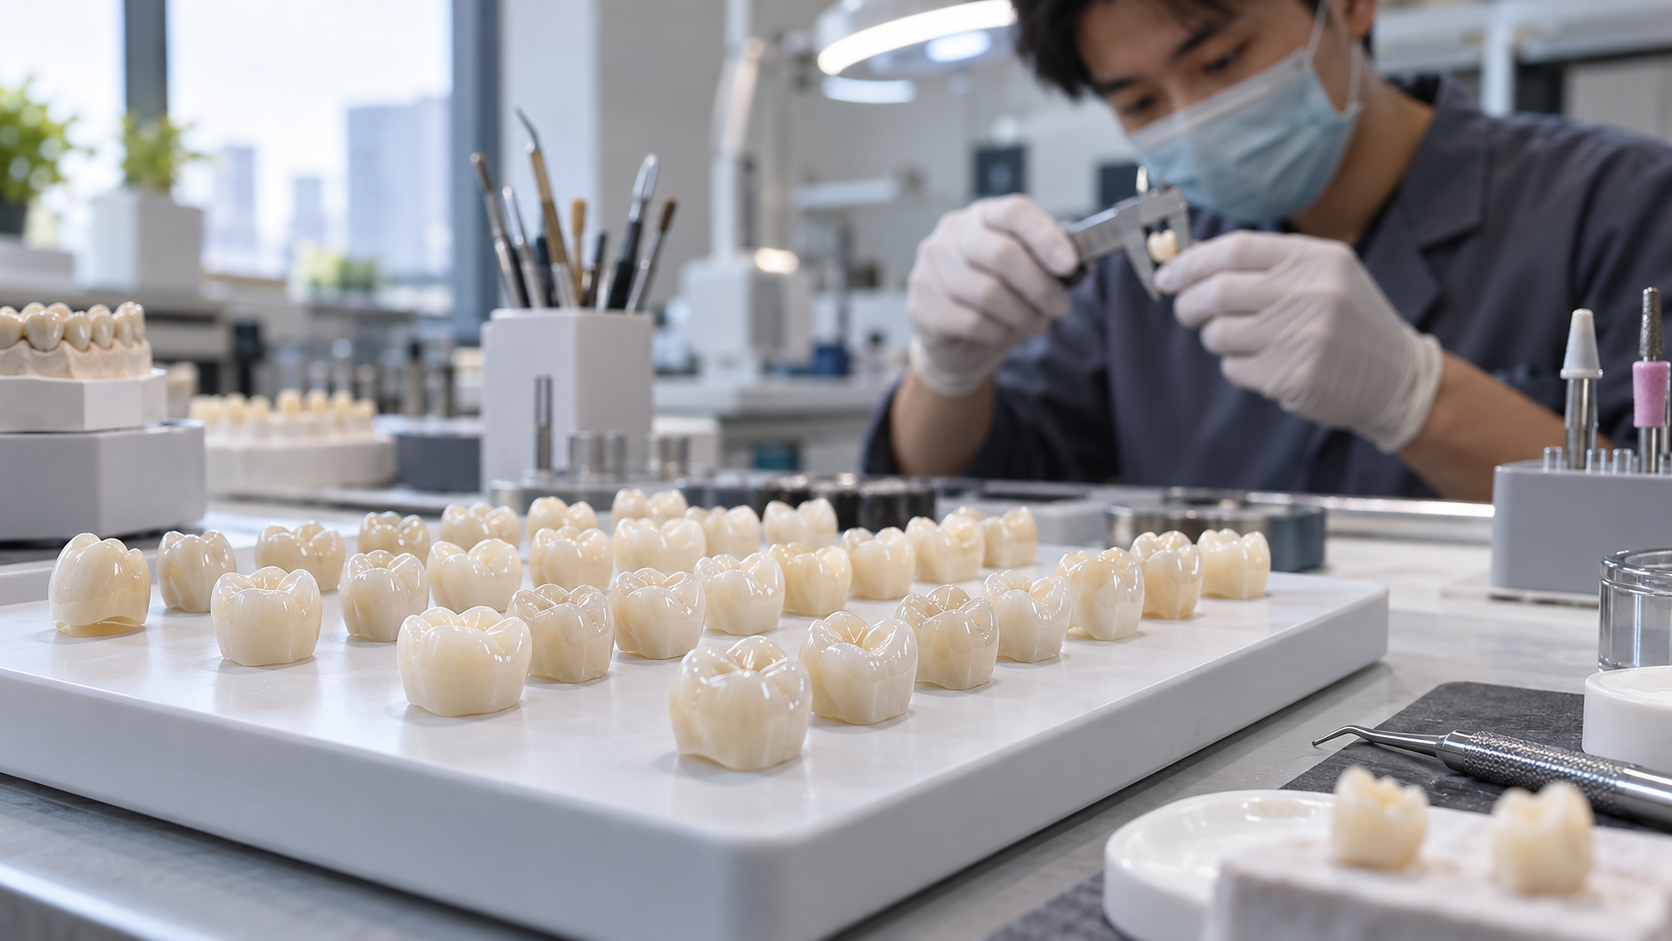
After manufacturing and finishing, the restoration passes through quality-control checks before release. We are an FDA-registered contract manufacturer for Class I/II medical devices, hold a CE certificate, maintain ISO 13485 and ISO 9001, and use only FDA-approved materials. Certification does not replace case-level inspection, which is why we keep the intake record and prescription connected to the work. For a dedicated explanation of our checks, see our 7-step quality control process.
Stage 5: Dispatch preparation
The completed work is prepared for international dispatch using the delivery details associated with the order. This is the point at which accurate clinic or laboratory contact information matters. If the receiving address, telephone number, or contact person has changed, tell us before dispatch rather than after the shipment is in transit.
Turnaround Times and Shipping for Digital Cases
Digital submission removes the need to ship a physical impression before the initial file review can start. It does not remove design review, manufacturing, finishing, quality control, or delivery of the completed restoration — which is why we do not quote a universal turnaround figure here.
Timing depends on the prescribed product, whether the submission is complete, whether approval is required, and the destination. Ask us for a case-specific schedule before booking the patient's fitting appointment, and make sure it distinguishes laboratory production from international transit rather than combining them into one vague promise.
For a predictable handoff, confirm these milestones:
- Submission received and associated with the Rx.
- Clinical record accepted or clarification requested.
- Design approval completed when the prescription requires it.
- Manufacturing and quality-control stages completed.
- Dispatch details confirmed and shipment released.
If a delivery date is clinically important, state it at the quotation or case-review stage. Do not infer a delivery date from the moment the upload finishes, and allow room for questions before production.
Common Mistakes to Avoid When Sending Cases Overseas
Submitting a technically complete scan with an unreadable clinical area
A scanner can finish its capture sequence even when the receiving technician still needs clarification. Review the preparation boundary and neighboring surfaces at useful magnification. If tissue, moisture, or missing scan data obscures the area needed for the prescription, correct it before submission when clinically appropriate.
Leaving the bite record or opposing scan out
Do not assume the prepared arch alone communicates the whole case. Include the records the prescription requires and make the file names explicit. If you replace one record, say so in the message accompanying the revision.
Changing extensions or sending an unexplained archive
Renaming a file does not convert its contents. Keep the scanner's original export, use a confirmed transfer route, and tell us what the export contains. If your system produces several related files, preserve their relationship rather than selecting one at random.
Treating shade as a single disconnected note
Put the prescribed shade on the Rx and connect the photographs to the same case identifier. When a visual feature matters, describe it in writing as well as showing it. This reduces the chance that a relevant image and the manufacturing instruction travel through different conversations.
Assuming approval instead of recording it
If you want to review a design before manufacturing, make that requirement explicit at submission. Identify the approver and monitor the agreed communication route. Conversely, do not send an approval message without the case identifier or without stating what has been approved.
Is Digital Outsourcing Right for Your Practice?
Digital outsourcing is a strong operational fit when your team can capture the necessary records, export them through an agreed route, write a complete prescription, and respond to intake or design questions. Our product lines cover Crown & Bridge, Dental Implant, Removable Restoration, Precision Attachment, and Orthodontics; the appropriate submission route still needs to be confirmed for the specific product and case.
A physical impression may still be appropriate when the clinical situation cannot be captured adequately through the intended digital workflow, when the prescribed product needs a different input, or when the available scanner export cannot support the agreed route. The right decision is case-specific, and we would rather identify that limitation before production than force every prescription into the same process.
Outsourcing can offer meaningful cost savings compared with typical domestic lab fees, but price should be weighed together with communication, remakes, delivery planning, and the consistency of incoming records. Contact us for a current price list, and describe your product mix and expected case flow so the discussion is relevant to your practice.
Topway has served laboratories and clinics in the US, UK, DE, FR, CA, AU, NZ, IL, and BR as its overseas business expanded from 2010. A sensible first step is a clearly documented case that lets both teams establish naming, review, approval, and delivery expectations. That first case should be used to build a repeatable handoff, not to test how much missing information a technician can infer.
Frequently Asked Questions
What file formats does Topway Dental Lab accept for digital impressions?
Contact us with the scanner name and the export options visible in your account before sending a live case. STL, PLY, DCM, and DICOM are common in digital workflows, and an open STL export is usually the simplest starting point — but wait for our confirmation of the complete submission route before creating a live order.
How long does it take to receive restorations after sending a digital case overseas?
There is no single turnaround that applies to every prescription. The schedule depends on the product, completeness of the submitted records, required approvals, production route, and destination. Ask us to confirm both the laboratory schedule and the expected dispatch plan before arranging the patient's next appointment.
Can I send cases from any intraoral scanner brand?
Do not assume compatibility from the brand name alone — what matters is what your account can export. Show us the export options available under your scanner account and identify the intended restoration, and we will confirm the appropriate next step.
Is it safe to send patient data to an overseas dental lab?
Your clinic or laboratory should apply the privacy, consent, record-handling, and transfer requirements that govern its work. Before sending a case, agree with us on the transfer route and include only the patient or case information needed for the prescription. Do not place identifiable patient information in an improvised channel simply because the scan files themselves are ready.
What happens if my digital scan is rejected for quality issues?
We identify the issue during intake and return a specific request for correction or clarification. Depending on the problem, the next step may be a rescan, a missing record, a corrected export, or a clearer prescription. Production does not start until the case has passed intake review and any required questions have been resolved.
Top Posts

Recent Posts



How can we help you today?
We believe in providing the best possible care to all our existing patients and welcome new patients to sample.
